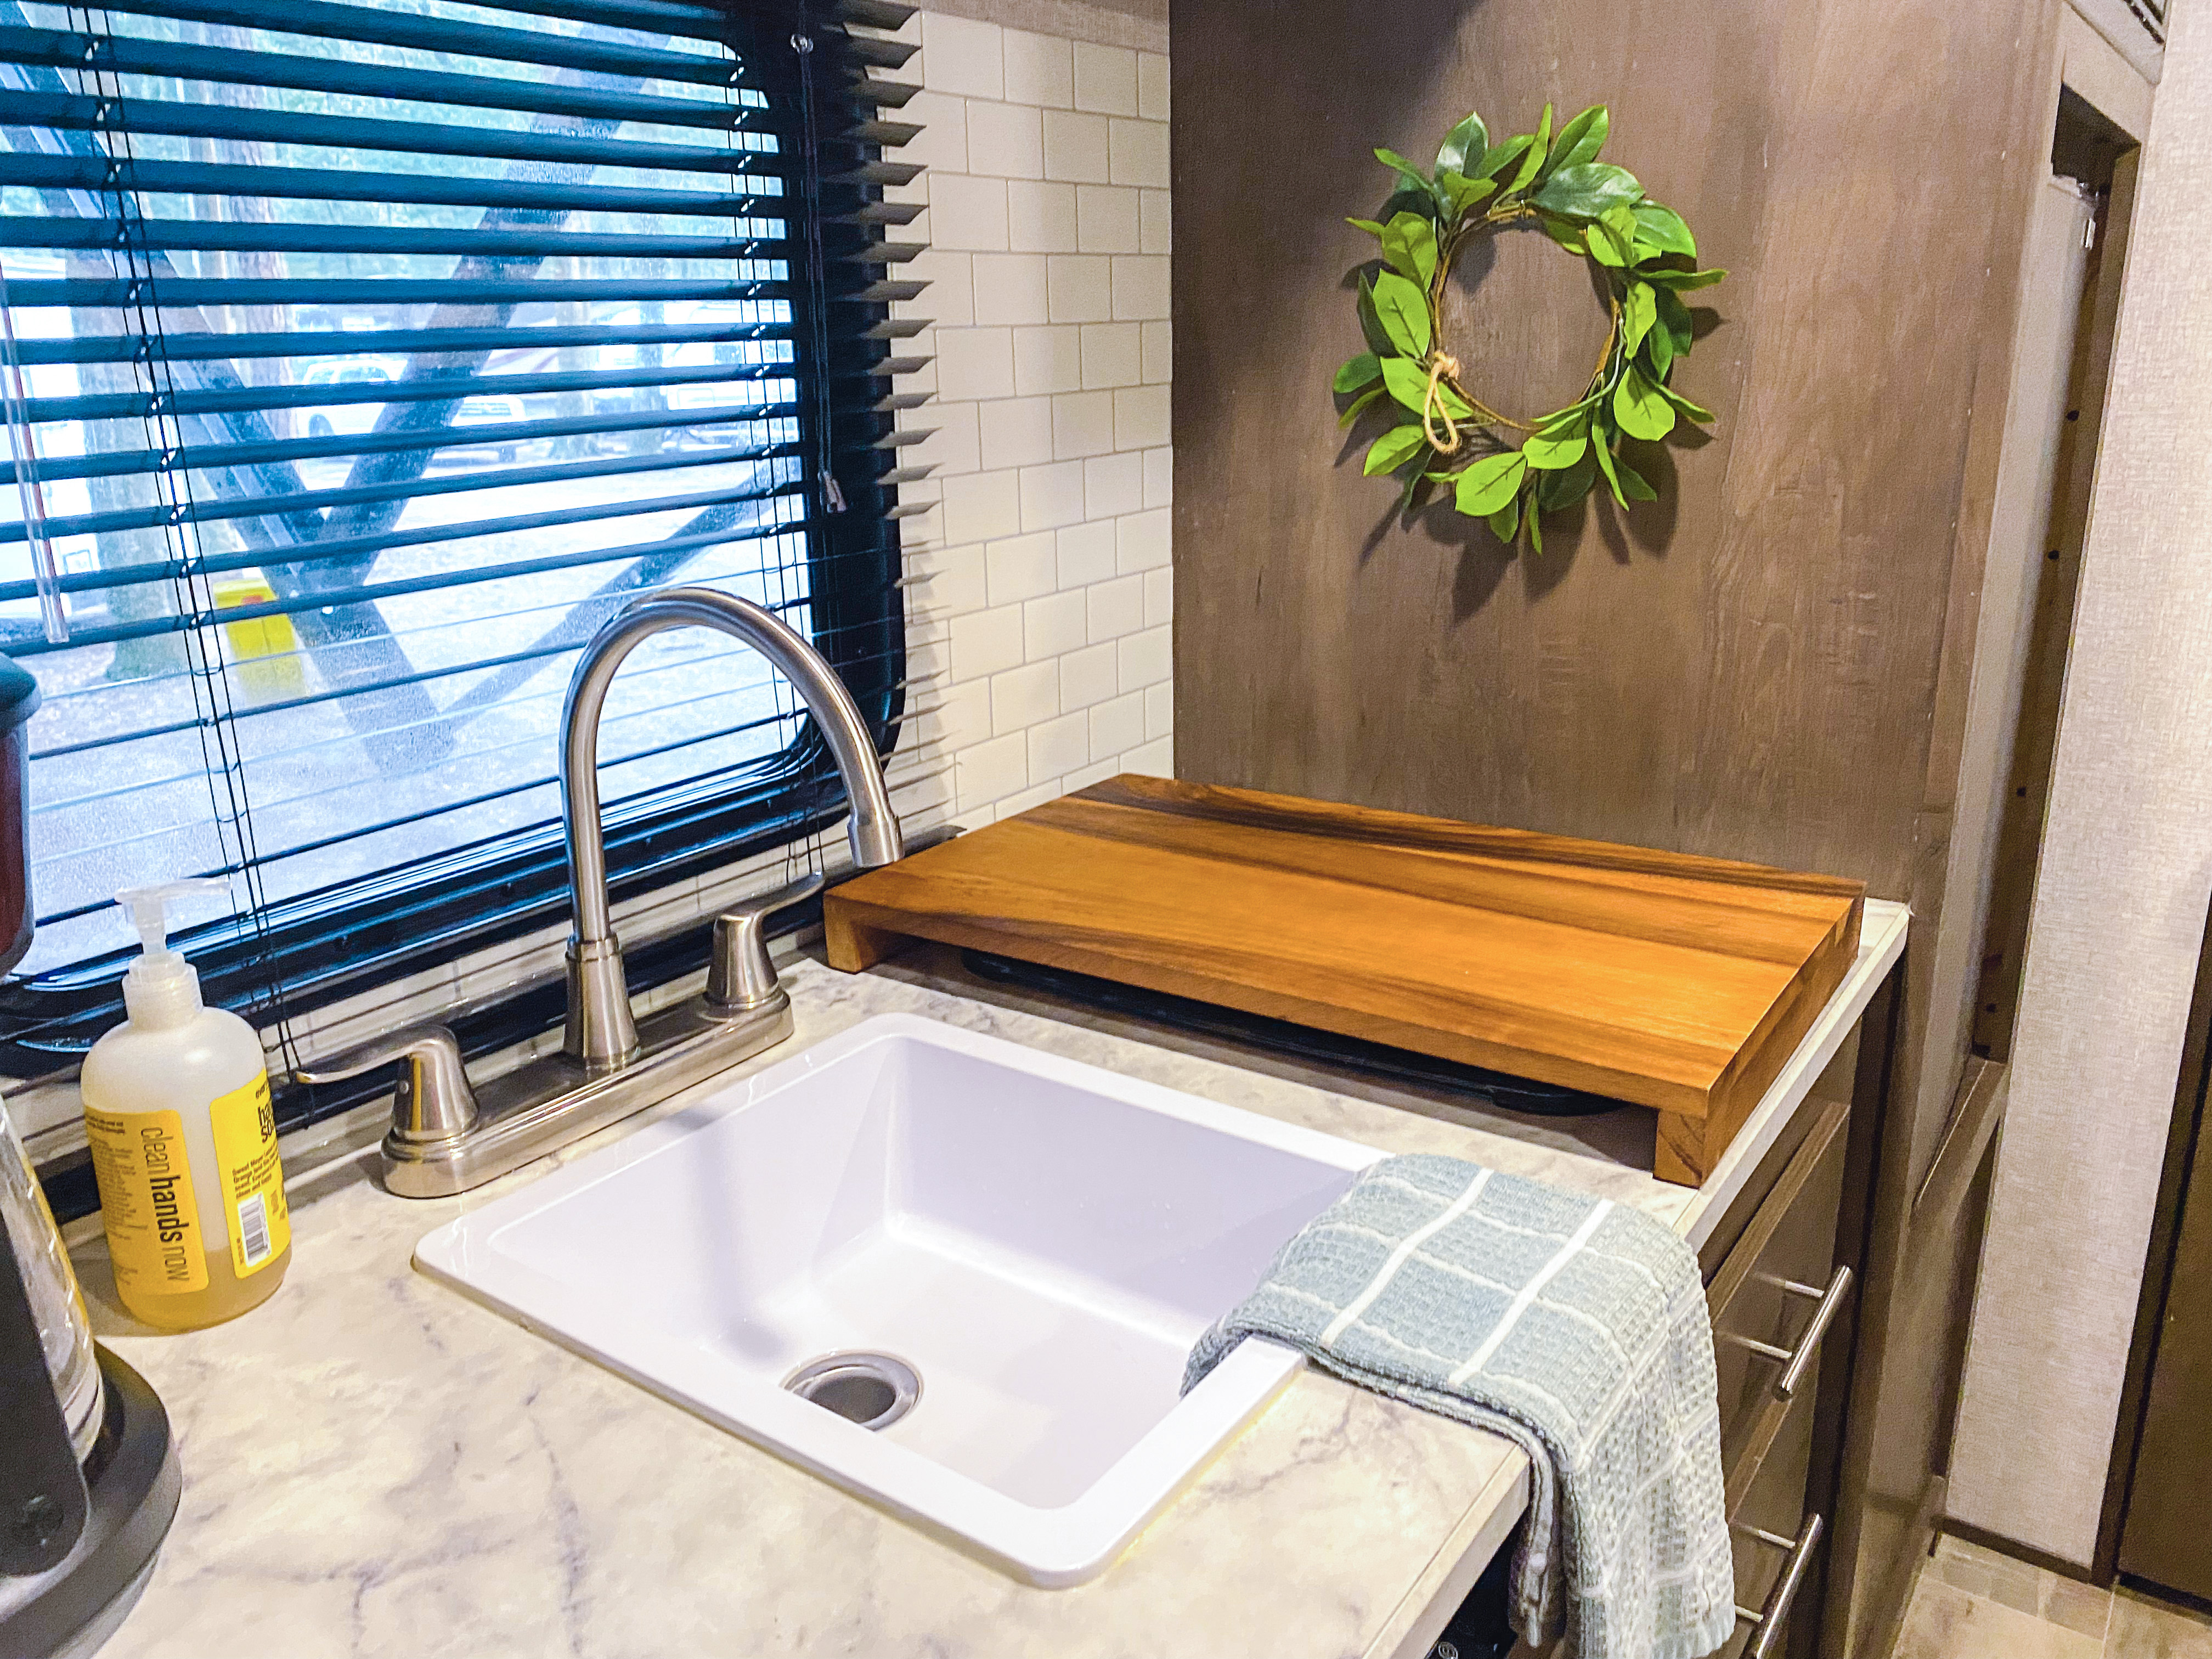
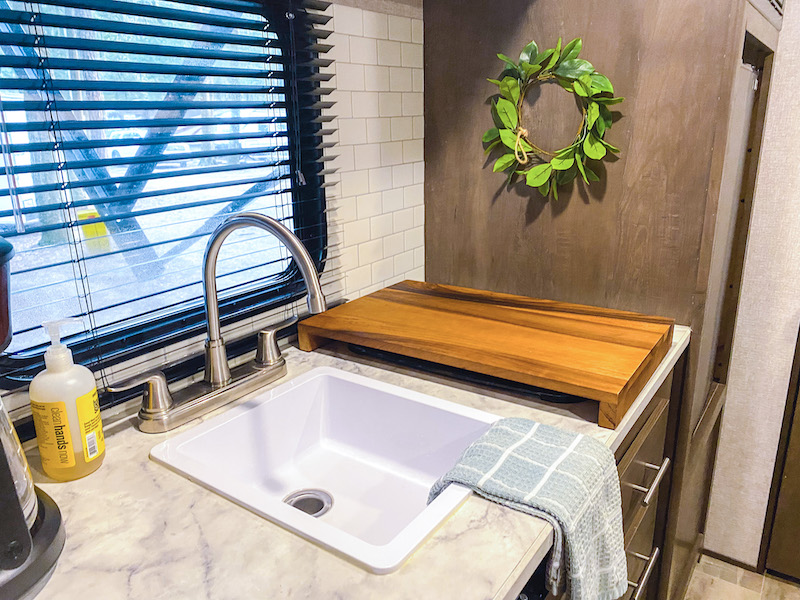
Our 2021 Coleman Lantern 17B did not come with a backsplash, and adding a backsplash has been on my to-do list since we purchased our camper in March of 2021. With all of the dark wood in the camper, I chose a basic white subway peel and stick tile to brighten up the space. I knew it would be a bit tricky cutting out the tile around corners, but overall the project wasn’t too bad. I am a perfectionist though, so it did take me a lot longer than it probably should have (about 3 hours). I think it turned out very nice though!
(Disclosure: As an Amazon Associate, I earn from qualifying purchases.)
The tiles I used – Art3d 12″x12″ Peel and Stick Backsplash Tile Subway Sticker Warm White for Kitchen (10-Sheet)
Our stove cover (just pop off stove knobs for it to fit) – RoRo 22″ x 14″ x 2″ Wood Over the Sink Board and Prep Station
(Amazon affiliate links)
Here is the before and the tools I used (not pictured – drill and Sharpie):


A few pointers:
- Thoroughly clean the wall prior to sticking the tile – I have seen people use a degreasing spray or alcohol wipes, but I just used a multi-surface cleaner we had in the camper and so far so good.
- Remove the blinds, take the window casing off, and loosen the water heater switch panel – this makes for much easier tile placement around these items. The window casing was very easy to remove so don’t be nervous about that!
- Use the light coming through the window to trace the shape of the window on the tile sheet with a Sharpie – hold the tile up to the window, and on a sunny enough day you should be able to see just enough through the tile to trace for precision cutting.
- I found it much easier to use scissors to cut the tile than a razor.
- Around difficult objects such as the outlet, cut one tile at a time out of the sheet and place as a single tile or a row of tiles for easier placement rather than trying to trace on the whole sheet for that area.
- One pack of 10 tiles was enough for me to do the area that I did, but you would need to purchase an additional pack if you wanted to do much more than that.


Happy DIYing!

